Rule 10 | Set cast shadows
Lesson 2 | Silver pines in a group
20 min.
It is often a great challenge to combine the constructive challenges with the looseness of the fluttering line. That’s why we do this little exercise. It should be free in the drawing and yet appear to be in the right perspective.
Step 1 | Learn to integrate construction of shadows to the way of sketching with fluttering lines.
Watch out for the fluttering line, that renders your construction into a real sketch.
10 min. |
Script
Hello and Happy Sketching for the 10th rule.
And now try to apply what you have learned a little bit more freely, more easily. And you can draw a landscape, you know how you do it, some faint lines in the background, some perspective for the forgound. And let’s say my son is here. And you can draw some pine trees, they go over the horizon because you are not that tall, like a pine tree, maybe something like this. And a second one, there are kind of hidden sticks. So the first stick is here, and the second stick is here. So the foot of this is here and this one is here. Yeah, let’s make his third one a smaller one, something like this.
And now the question is, how can you construct the cast shadows? We learned about going from the sun to the footpoint. This is the footpoint of the sun. So we have two points, the sun itself, and it casts the shadow in this direction. And we have, over the feet, from the footpoint of the sun, over the feet I have the first shadow of this tree somewhere here. So this is kind of another image. So it’s a cast image of the pine. So this has in its form something to do with this here, something like this.
Same concept here, over the top of the tree and going through the feet of the pine tree. So, this means that the top of the tree must be somewhere here, a little bit outside of my sheet here. And then it’s melting to the other.
And maybe it would have been better to have a smaller tree so it doesn’t happen again. Let’s say this tree has only the size of this. Let’s dig like this. Then we do the same. So it goes to this for the top of the shadow and oh, well, it crosses somewhere here, so it falls together with this other shade, something here. So let’s say here we have the other shade of the tree. So what I can do now, I can highlight the shadow or darken the shadow with a little bit of coloring.
These are the forms of the shadow. I could do even something similar with the trees itself so that you can easily find it out a little bit more easily. So cross-hatching a little bit and giving contrast with the fluttering of many lines. Again, this helps to understand more where the form is. We said it’s only going to this form, something like this underneath it might be a little bit darker. So you can have a little bit of grey as well. Blend it in here.
Yeah, that’s it. This is our landscape with the constructed cast shadow trainer. Straight out, more freely, feel comfortable with this construction. And then we are going to the next exercise. Happy sketching.

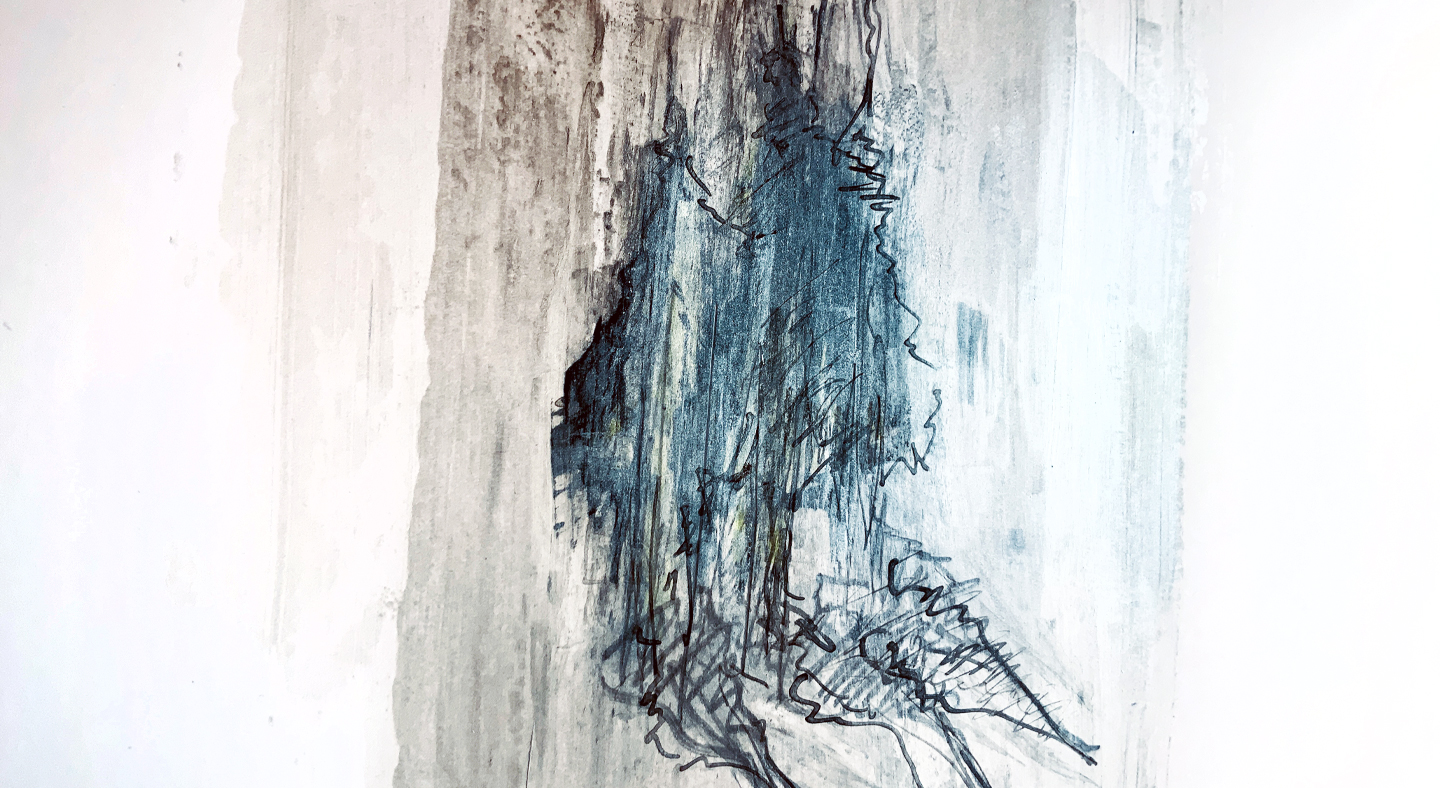
ASSIGNMENT | Sketch your bunch of trees and play around with pencil, color and stuff.
Try to go a little further and dare to let your creativity out.
To upload, use the buttons further down.

Free trial
Try one lesson and decide if you want to do the whole course. Click for the free trial ...
Certificate
If you want to achieve a certificate that proves your sketching skills, get all your information here ...


