Rule 1 | Let the line flutter

Lesson 5 | Follow the outlining 

20 min.

How can we come closer to characteristic details?
It is all about following a line or even a direction.
In the beginning, we exaggerate in order to develop sensitivity to this.

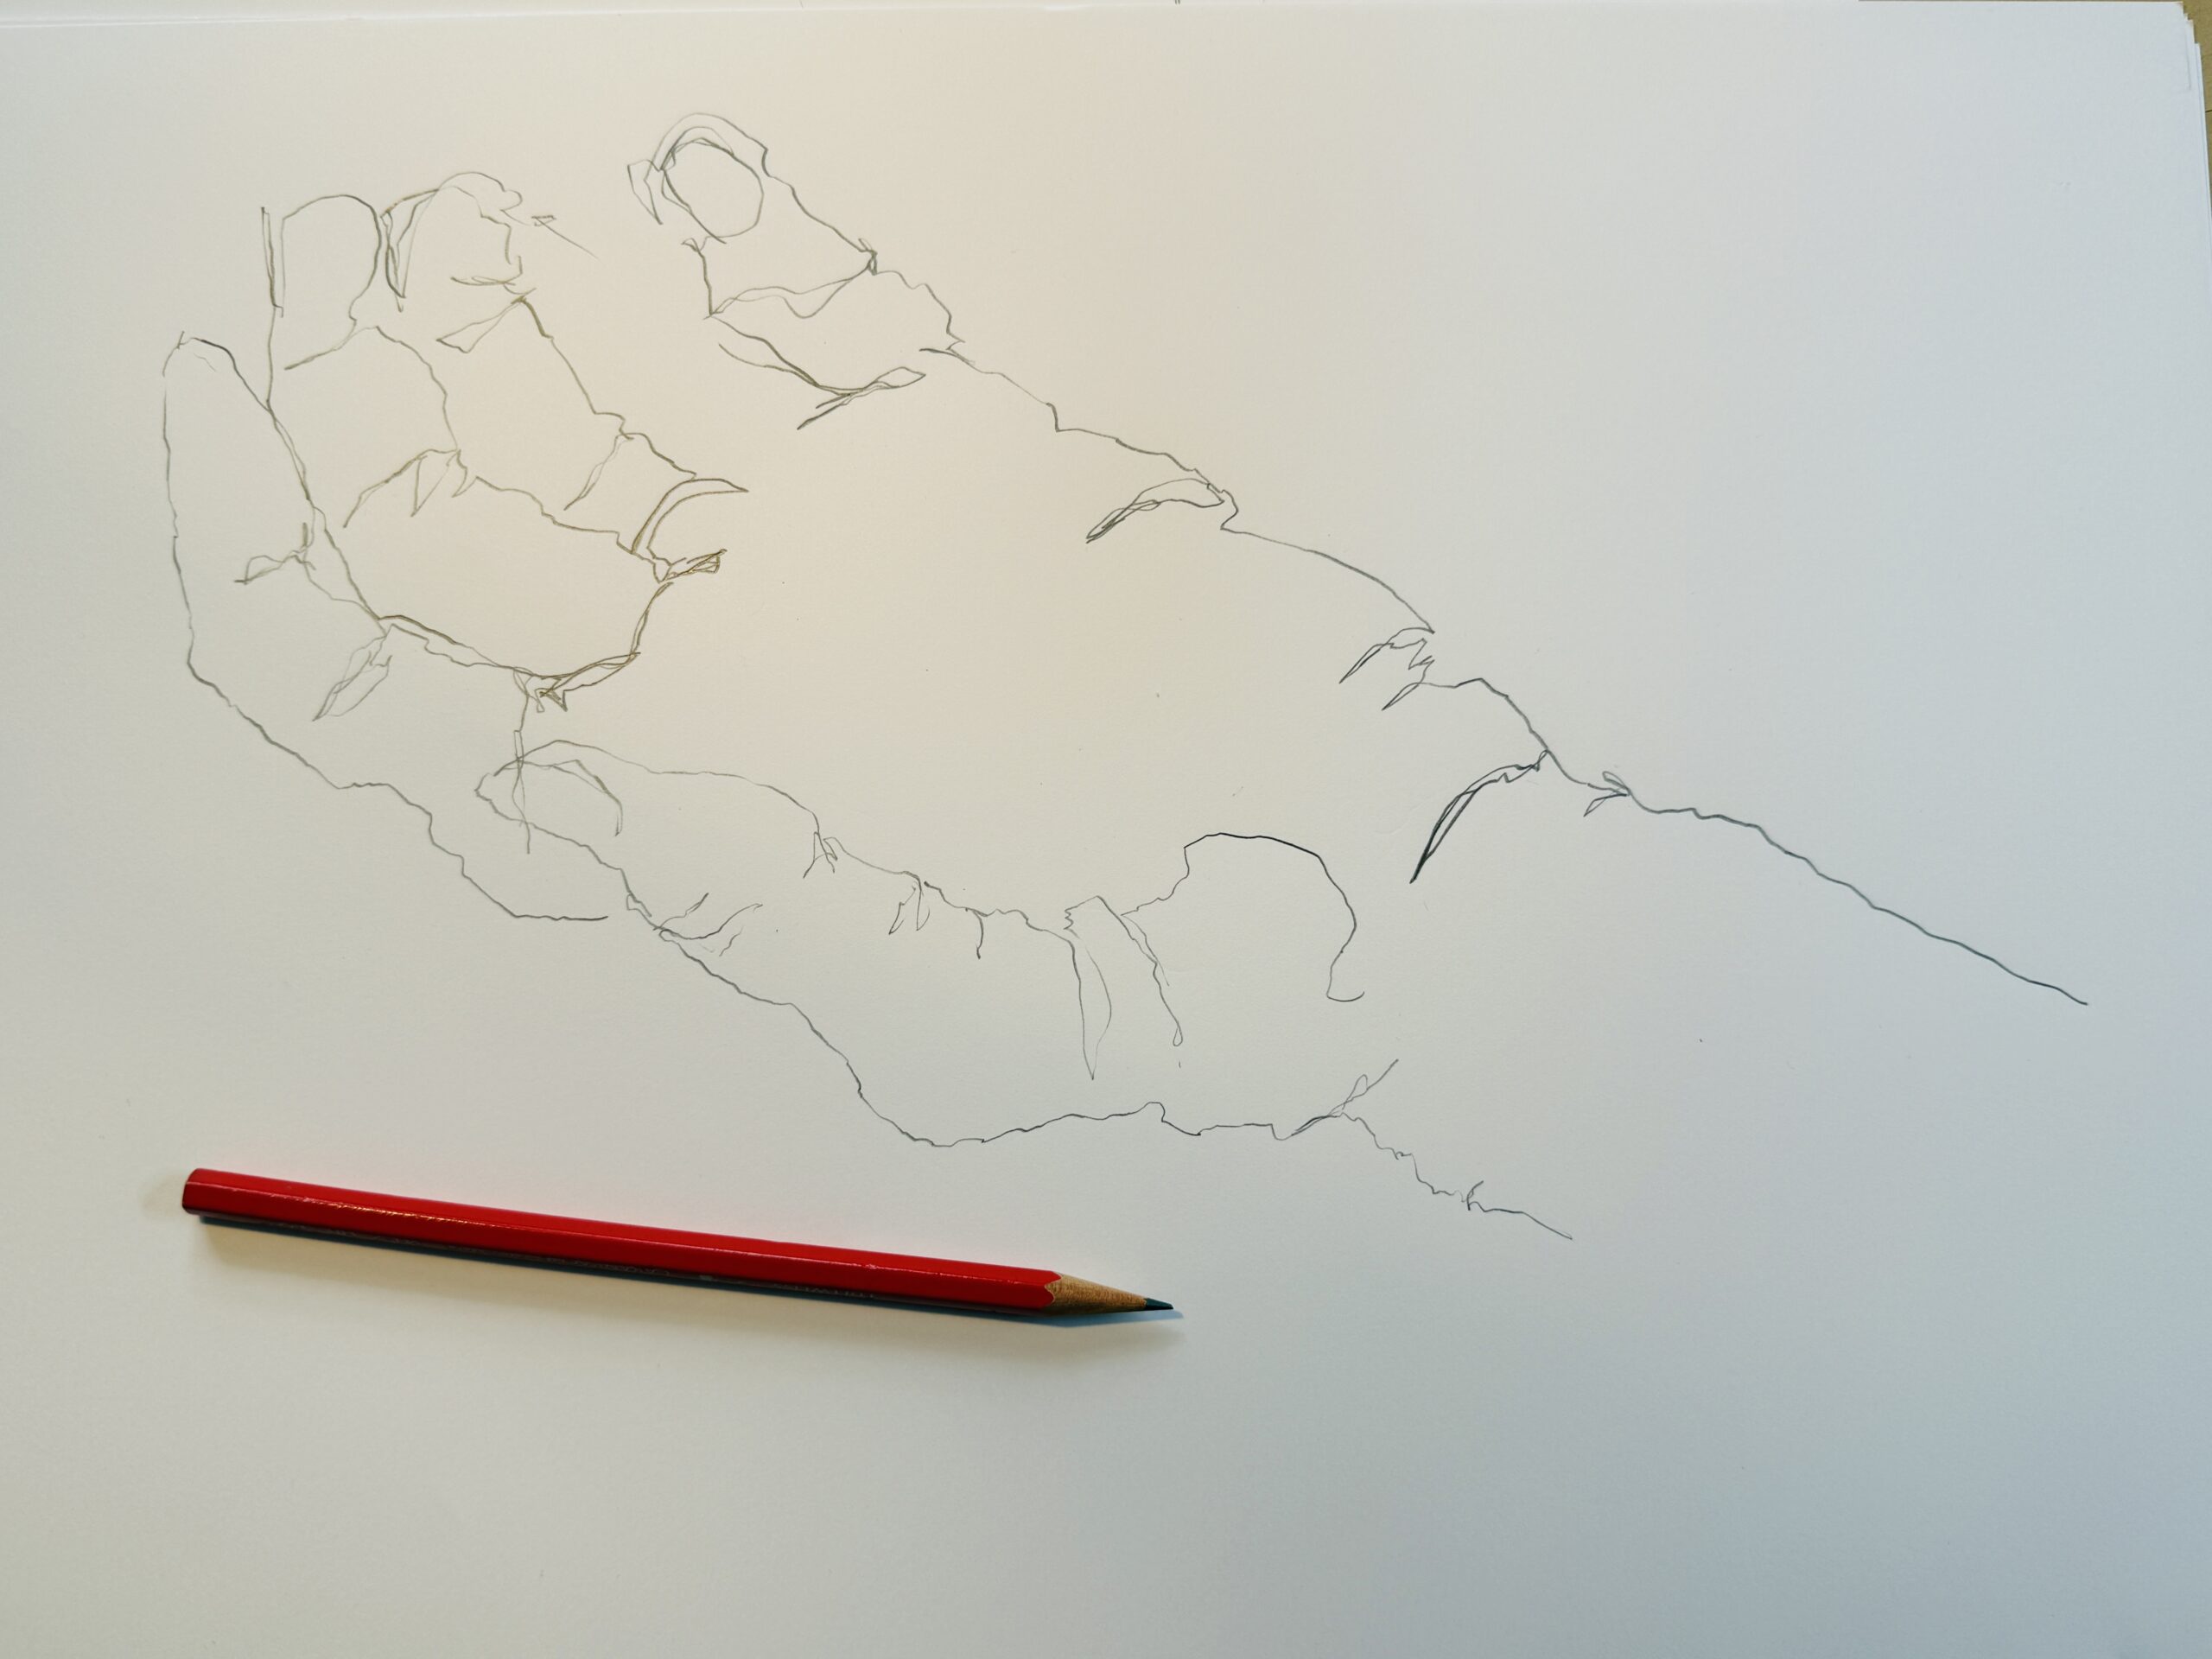
Step 1 | Spread out your fingers of the hand you are not drawing with. Follow the silhouette-lines with your pencil moving along your hand.

The silhouette captures the essential of an object.

Drawing blindly is one of the greatest tricks of a living stroke. So follow the outlining with your eyes on the object to depict, because there is visual information to perceive. Try out this experience of drawing blindly.
Script

Hello and happy sketching. I welcome you to rule one and I want to explain some tools. Very important is the traditional fountain pen. Why this? Because it helps us to make fine lines. And if we have more weight on the nip, then we have all the lines. So this is a good tool. And I think to trigger your creativity, you should always switch tools and find out which tool is the best for you. So never forget to work on a heap of paper so that you have really soft surface where you can work with the lines very differently. This is important. And I have another tool here. It’s a common colored pencil. And you see it’s similar to the sorry, now it’s broken. That’s actually not the problem. You see you have more possibilities because it’s softer and it’s not so sharp. It really starts to get thick lines with this. And last but not least, the roller ball pen. This is actually a very good tool because even here you can make faint lines but also bold lines. And if you work on a heap of paper, then you can really make very bold lines. So this is about the tools and triggering creativity.

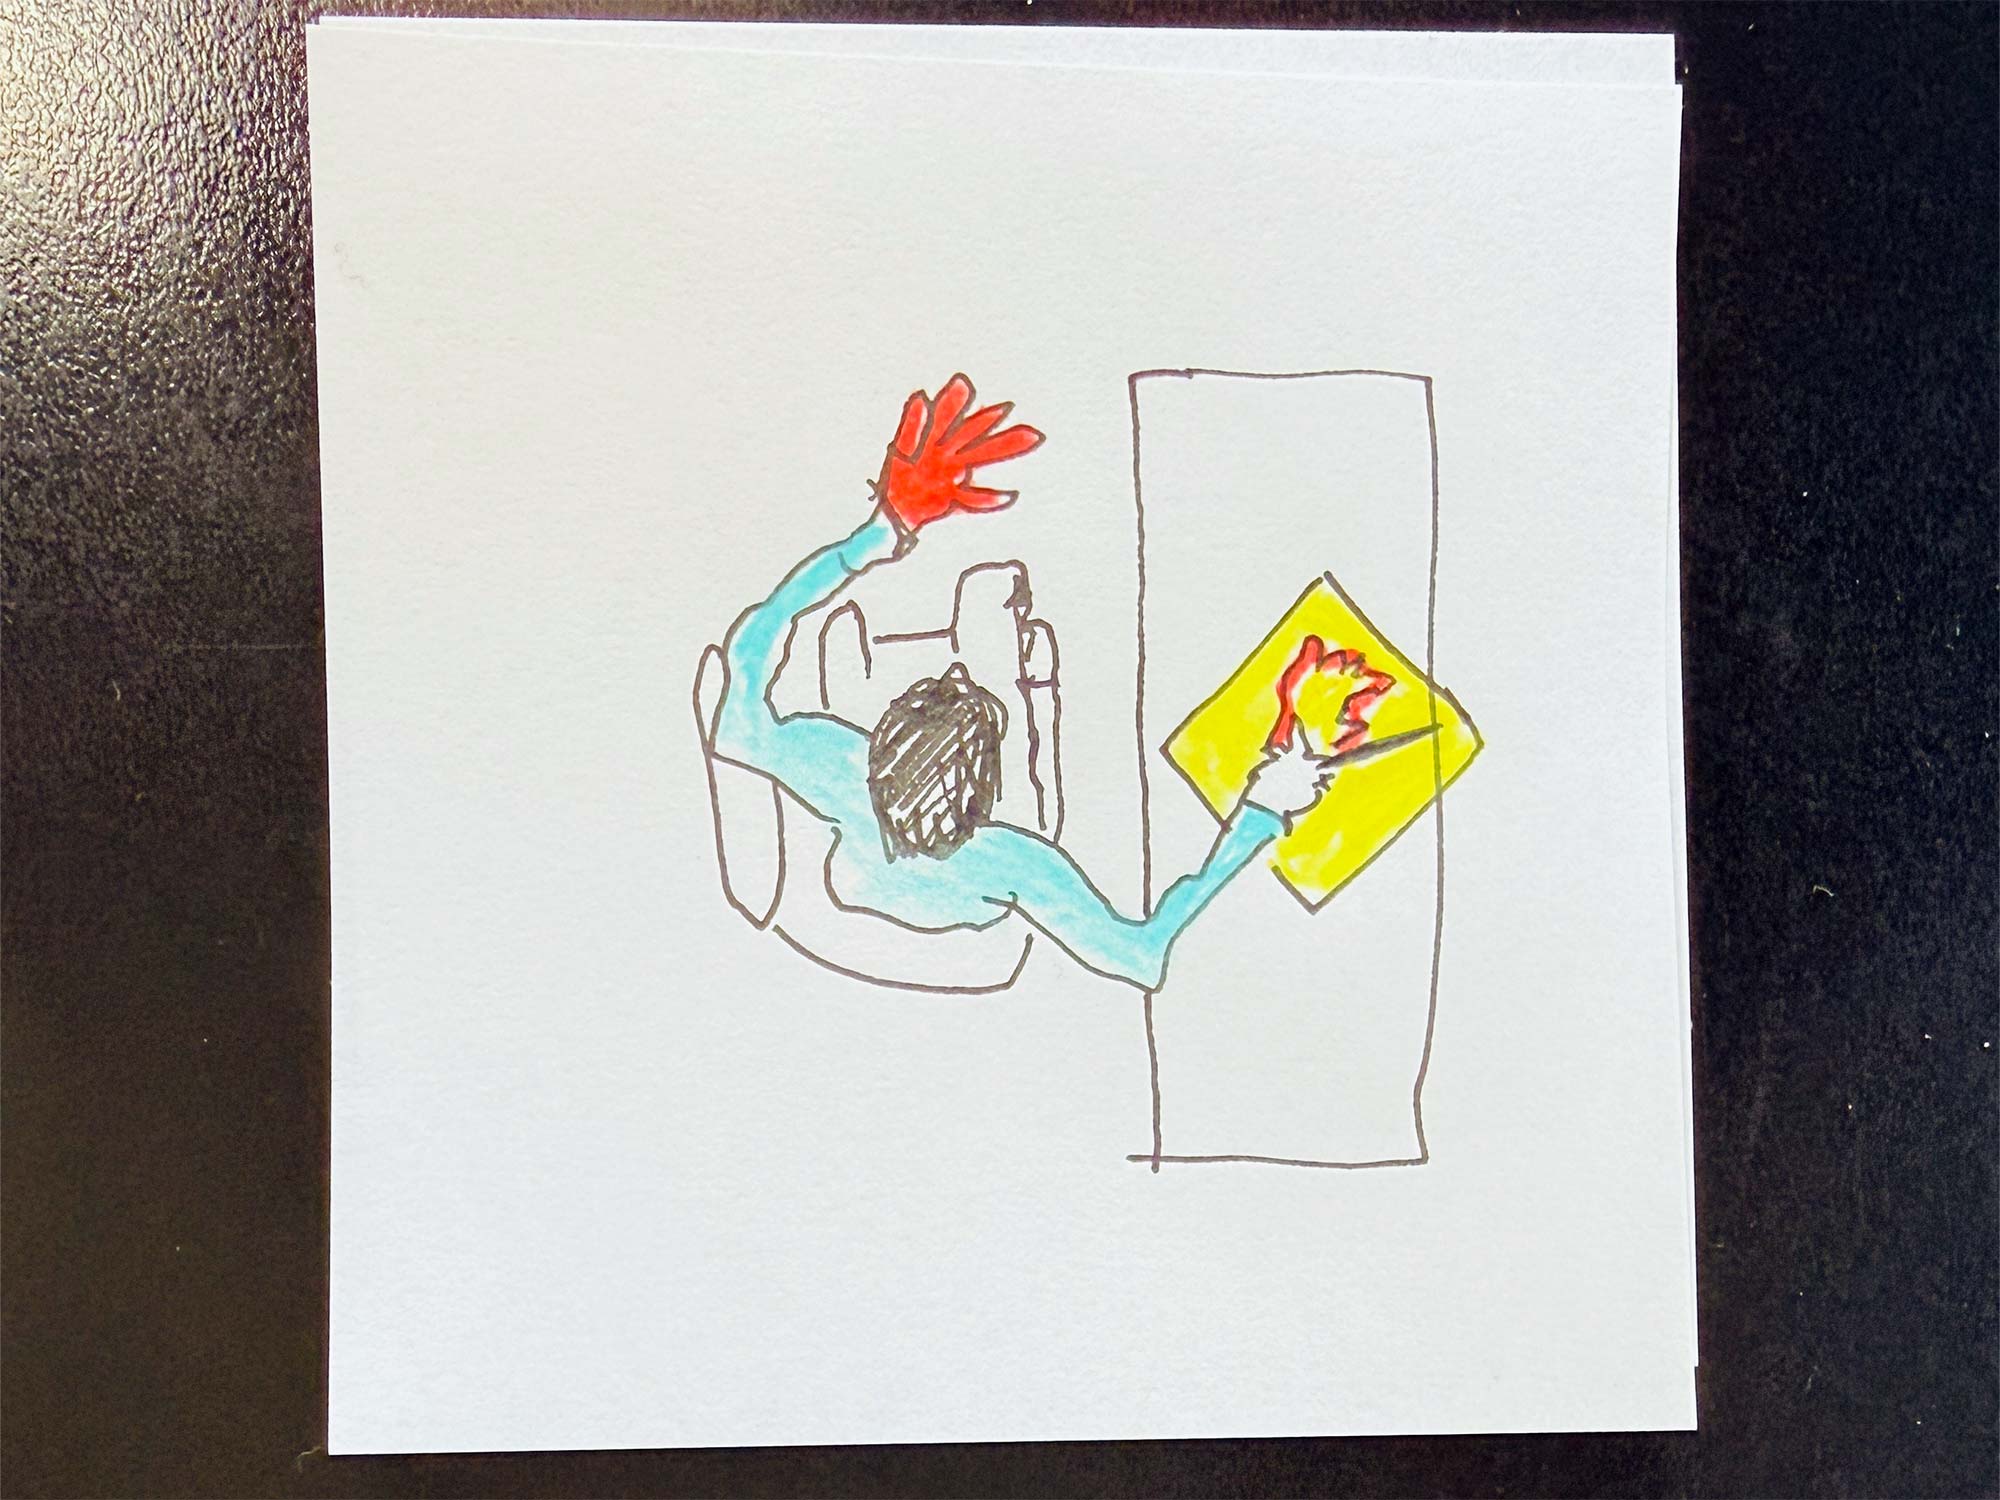
Now I switch to the actual exercise. And I want to introduce you to how you have to sit. Okay, this is your table, this is your chair. You are sitting here with the right-hand drawing at the left hand here. So actually I want to turn this situation to so for right-hand drawings, drawers that you put your table like this. You have your right hand with the pencil on the sheet of paper. But you sit here. This is your hand, those are your legs. You sit here and you have your other hand here. And you have your head turned towards your hands so that you only can see your hands.

So you’re looking in this direction, but you are drawing here. And the same thing but to the other side is here. You put for the left-handers, you put your chair like this. And then you’re sitting here. You are looking in this direction. You have your drawing hand here with the pencil on the sheet of paper and you have your hand that you are looking to here. Those are your legs. So you’re sitting like this. The purpose is that we want to draw blindly. We want actually to do this exercise to bring together analytic observation and intuitive interpretation. So there is no accuracy needed in this drawing. That’s why you are going to draw blind, you are going to draw the blind. And I really ask you not to cheat. Have your hands that you are drawing relaxed, not stretched out like this, but relaxed. And turn it away. From you and look at this hand. Maybe you can turn your sheet of paper a little bit. So that’s fine.

I start here and what I want is actually I’m following the outline so the silhouettes of my left hand to all the directions and all the details here and I overdraw them a little bit. The more details I have and the more I have them overdrawn, the more interesting is my sketch in the end. I do it now blindly. That’s why there will be no accuracy and this is important, or that’s why it’s important that you do not look at your drawing while you are drawing because otherwise you will be restricted by yourself and you will say oh no, this doesn’t look nice. But this is not the question of this drawing. The question is how many details you can bring in. So I’m starting here at the outer point of my beginning of the hand and I say, well, this is going to this side and it’s turning here I have the wrinkles. Then I started to come to the second part of my dump. Here I have a joint with the wrinkles and here my nail is starting and oh, I do have to make the silhouette. This is my nail and this is the end of the nail. This is the fingertip with a little indent. Then I go down and I have some wrinkles here, but not that much. And then it’s straight and then it’s sharply getting here. Then I have many wrinkles at the beginning of my dump here I’m starting to my palm here. I have a long situation here, another long situation here. And now I’m beginning at the beginning of my index finger. This is round and here it turns sharper, right. And then I have wrinkles here and then it’s going to stretch out here and then it’s coming to the right. Oh, this is my nail and then it’s going down further, and then again, here is the joint where it bends with a few wrinkles. Then it’s pumped a little bit here again the link wrinkles with the other joints. And then I’m going further down where the index finger goes over to the palm. And now the middle finger, this is round and it starts to get here. You can almost see the knuckles here and then it’s going very straight up. And then I have a little bit of a convex form here for the knuckles. And then I go up for the top of the middle finger again the nail, end of the nail. Then the fingertip I go down again. And here are some short things for the joints. Here I have some other wrinkles because then here it’s really round. Here I have a stop and a counter stop. And here is where my ring finger starts. Here is the indent of my ring. Then it gets up because the finger is relaxed it comes too strongly towards me. So I have here wrinkles and here it’s shorter and then I have here kind of a ball and then I’m coming to the fingertip again the nail end of the nail going down here the knuckle oh, that’s complicated. And here the other knuckle then it’s going down and then the end oh, here is my ring again. The end is far deeper in here in my hand than it is on the other fingers. Then my small finger is quite turned to the left coming towards me. So here is my first joint. That’s why it’s a little bit here again and then it really turns to the left going up to the end of the finger and here is the nail. I see the length of the nail then here I see the knuckle then it’s going rather round here again the next knuckle and then here my small finger ends. I have some wrinkles here and then I go into the palm there I would have a line so the other part of the lines that I have a note that there it goes down and here my knuckles begin of the hand joint here. That’s why it’s round. And then it’s going down to the arm like this.

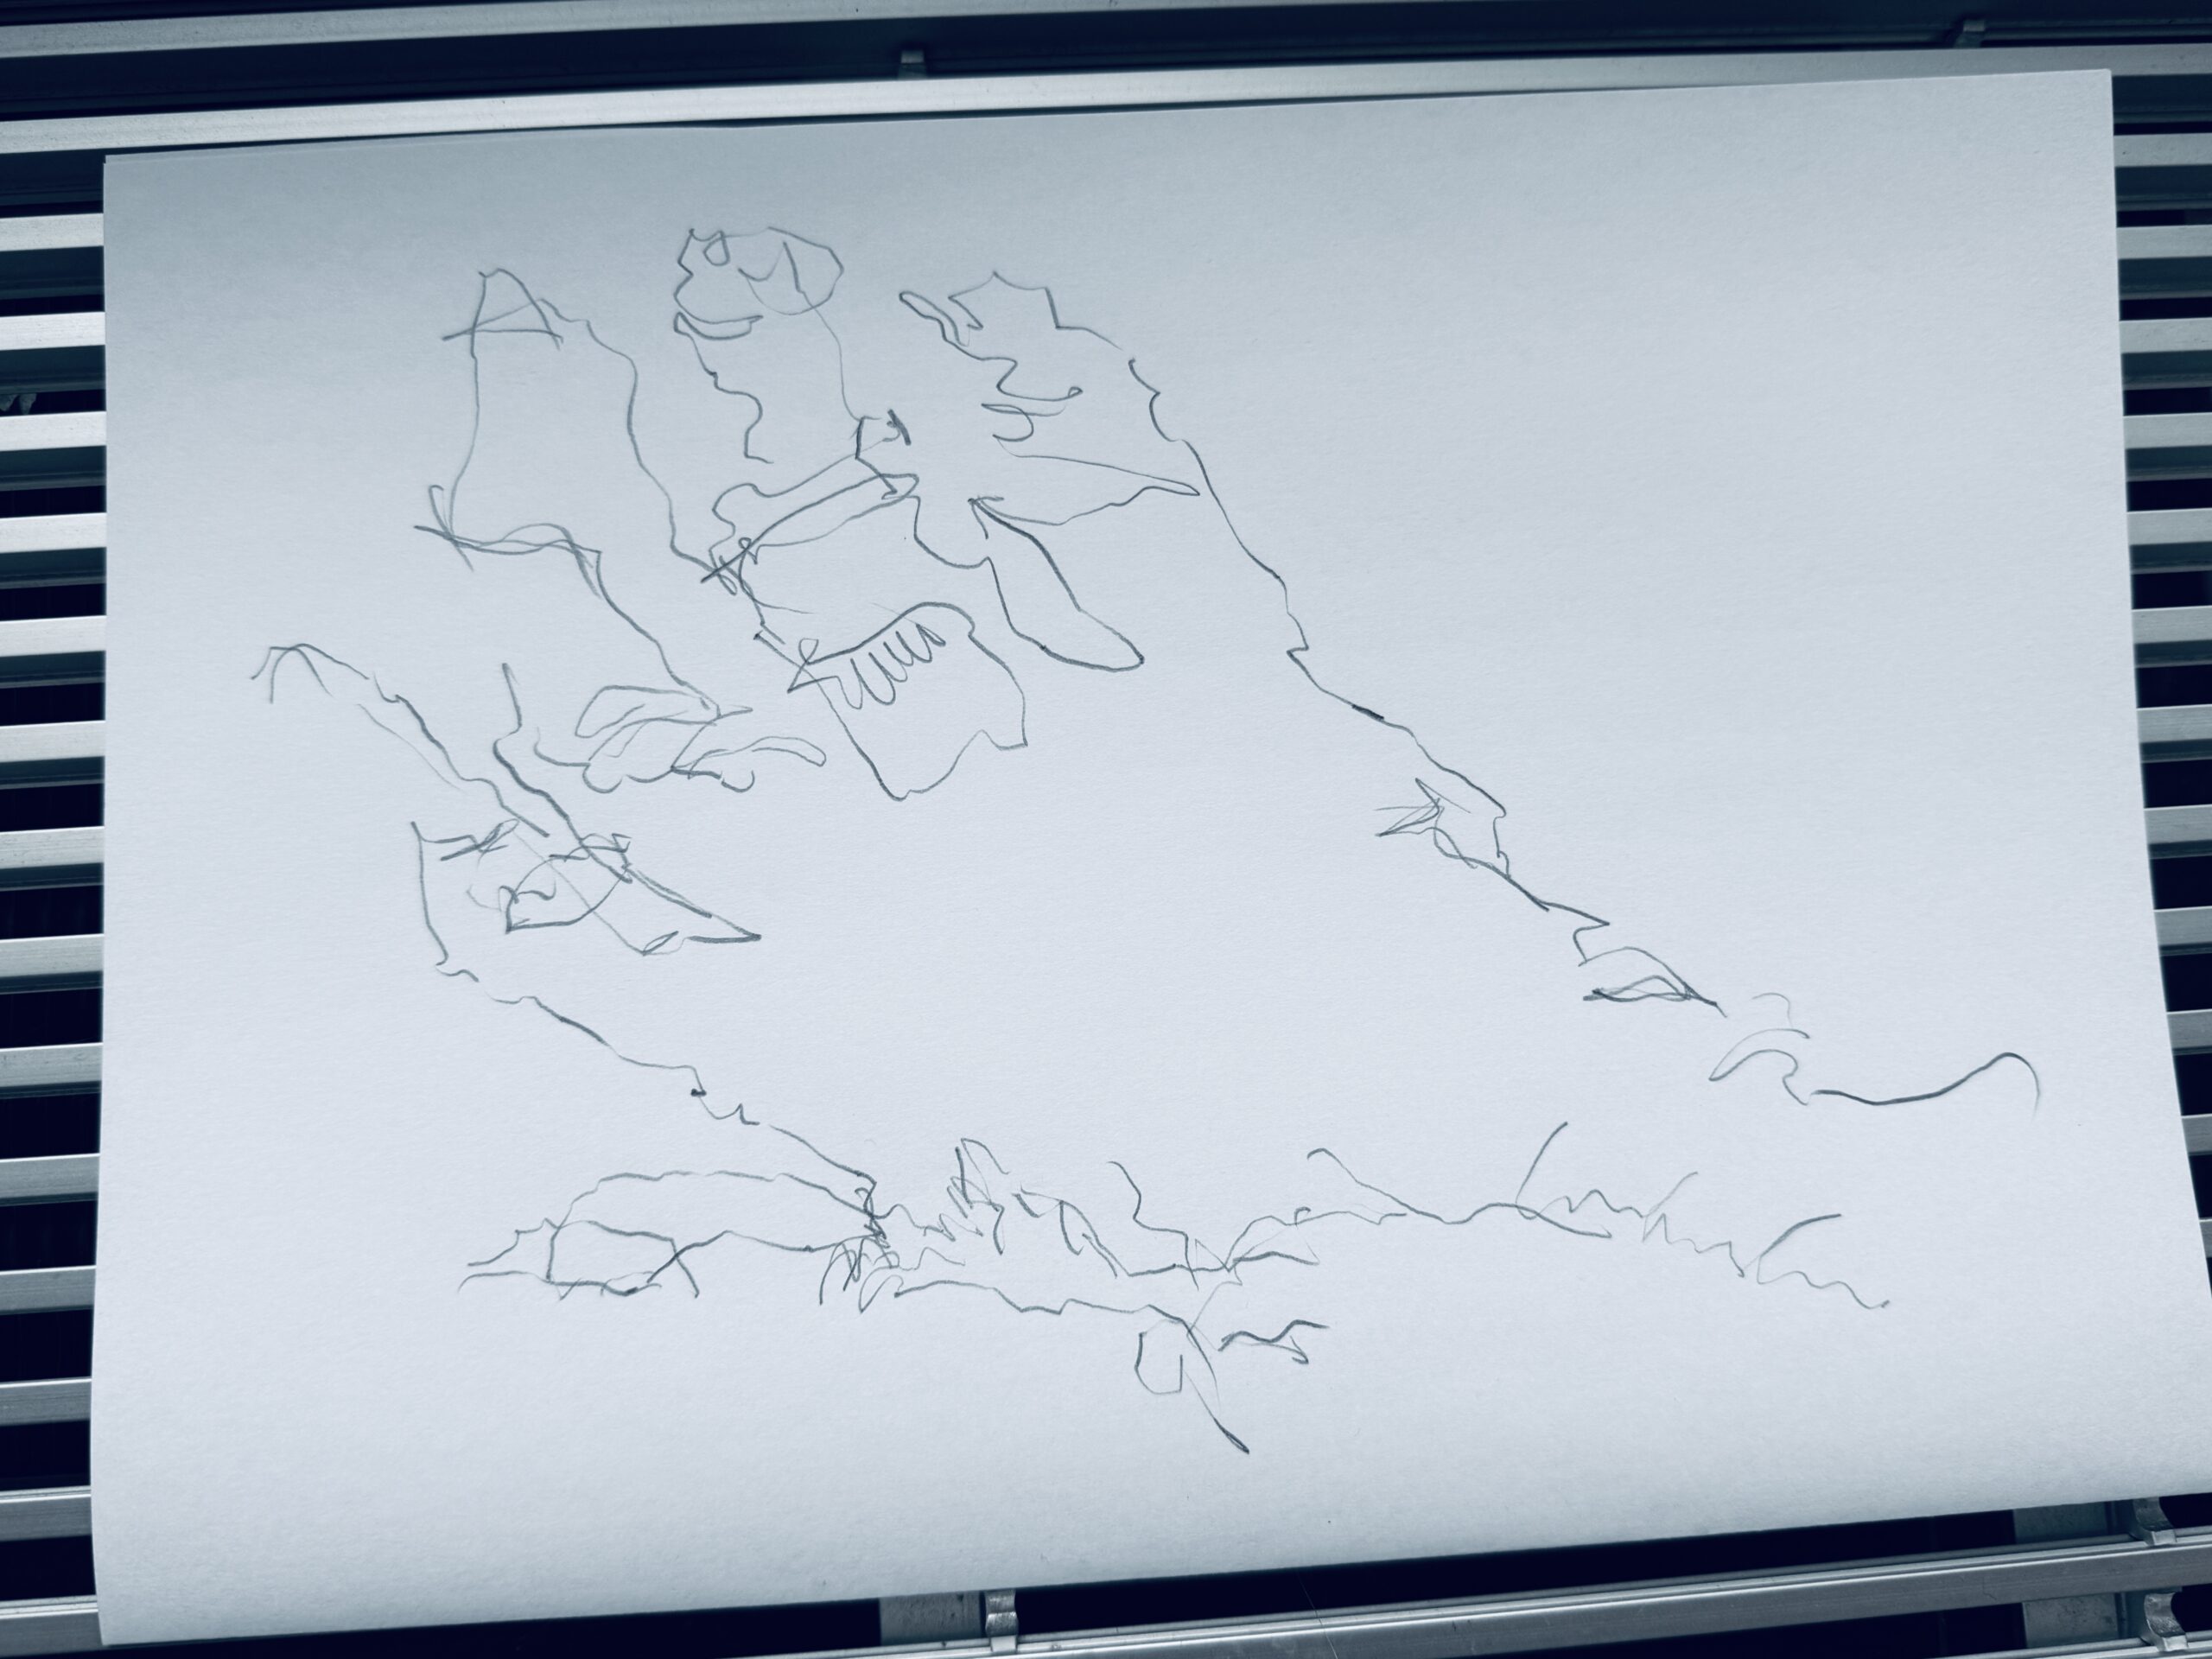
Okay, now you see it looks a little bit like Picasso but actually, this is what I wanted I didn’t want straight lines so I didn’t want lines that were drawn like this because they have no feeling in them. They are not useful and not worthful for a drawing of a human. Those are actually a little bit, not interesting lines. I want lines that always go in a certain direction. They are really vivid and nervous because actually, this is what we are striving for when we are looking at drawings.

The other thing is that we really want analytic observation to join with our brain. So meaning intuitive interpretation those are the two things we are always striving for because if we learn to do this more often we get really creative and that’s why the vice versa of this analytic observation, intuitive interpretation helps us to be more creative in future TV Series happy Sketching.

Using a reference image

Looking at a reference image while drawing can help to engage both the left and right brain, as it requires both analytical observation and intuitive interpretation.

Ultimately, the key to enhancing creativity and problem-solving skills while drawing is to experiment with different techniques and approaches and find what works best for you.

Actually, you could count the curves, the more changes of direction you have in the drawing, the better. And no, it doesn’t matter that it still looks like a Picasso at the moment. It’s perfectly normal that everything still looks crooked and wrong. And yet it should become clear to you that the intensity of the stroke can be seen.

Free trial

Try one lesson and decide if you want to do the whole course. Click for the free trial ...

Certificate

If you want to achieve a certificate that proves your sketching skills, get all your information here ...