Rule 5 | Highlight the lines
Lesson 2 | Parfois parfait
45 min.
„Parfois parfait“ is French and means „sometimes perfect“. This is a nice phrase play for us, because this is how the line shall be. In this lesson we focus on differentiation the diameter, weight, density or width of the line.
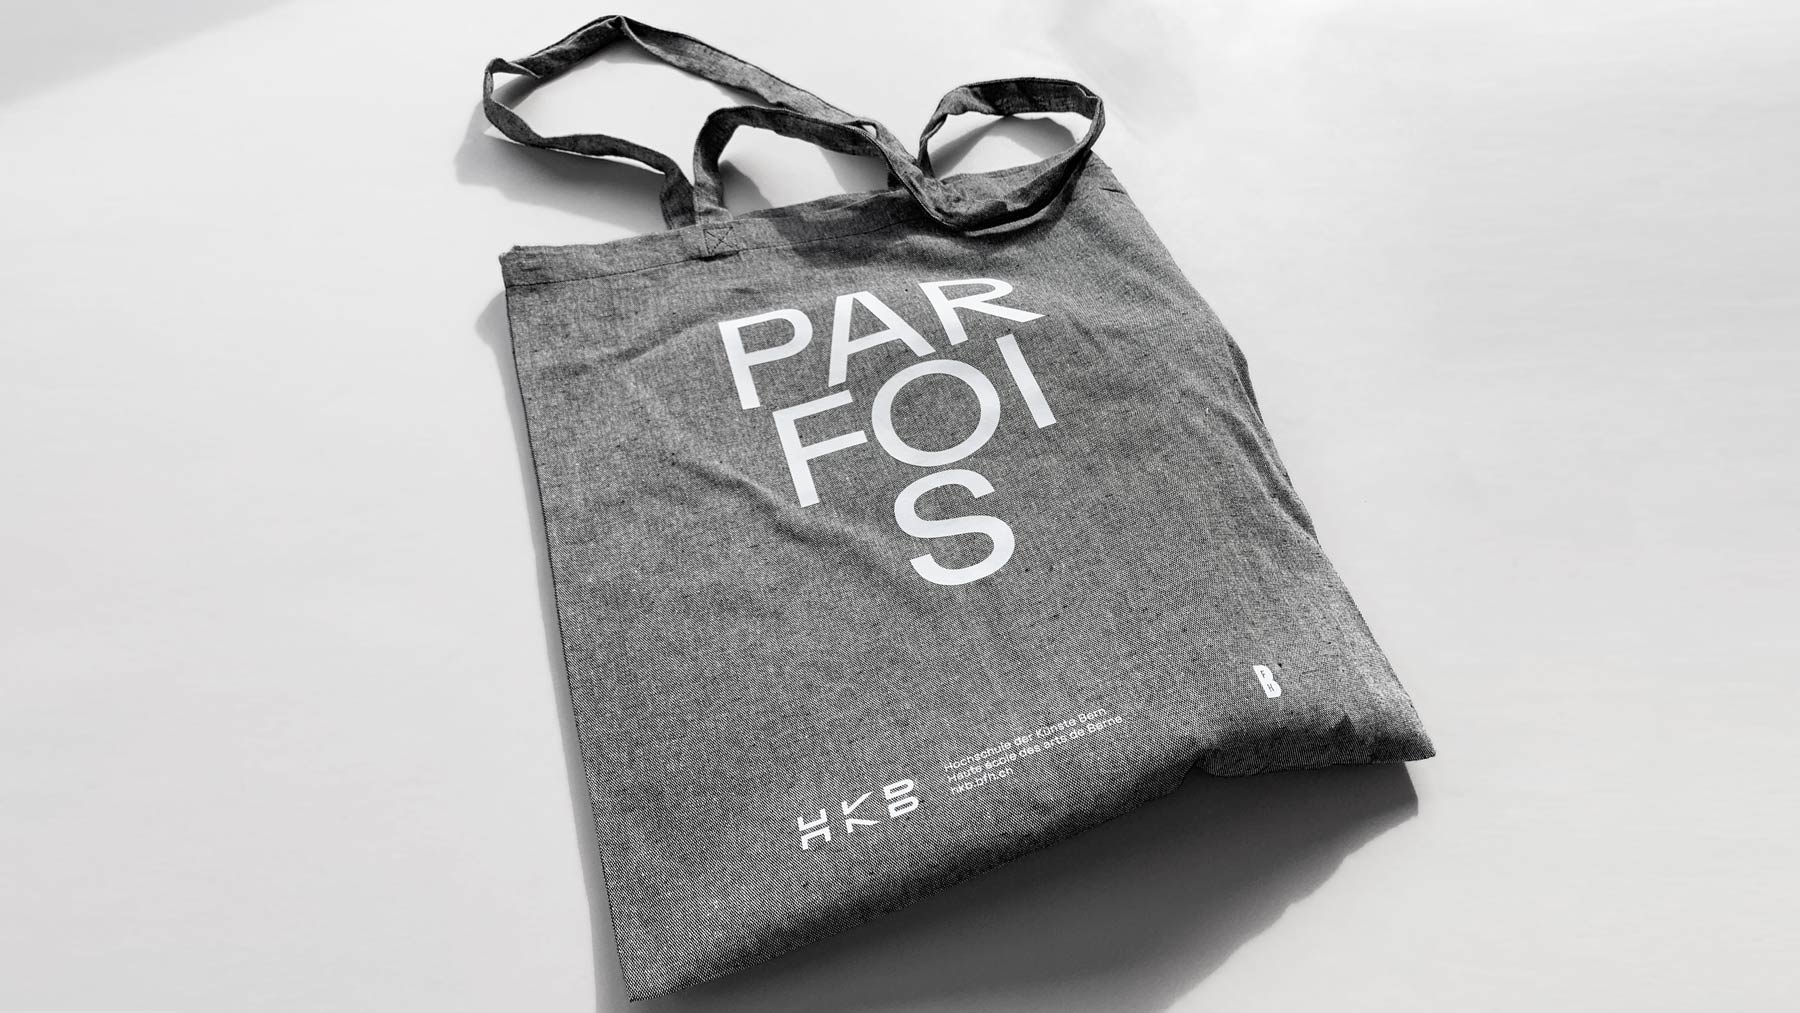
Step 1 | Grab a tote bag and observe the visuals on its surface
Follow the lines with your eyes and first think about, where would you pronounce the lines?
Watch the video and touch, feel, observe your tote bag
Script
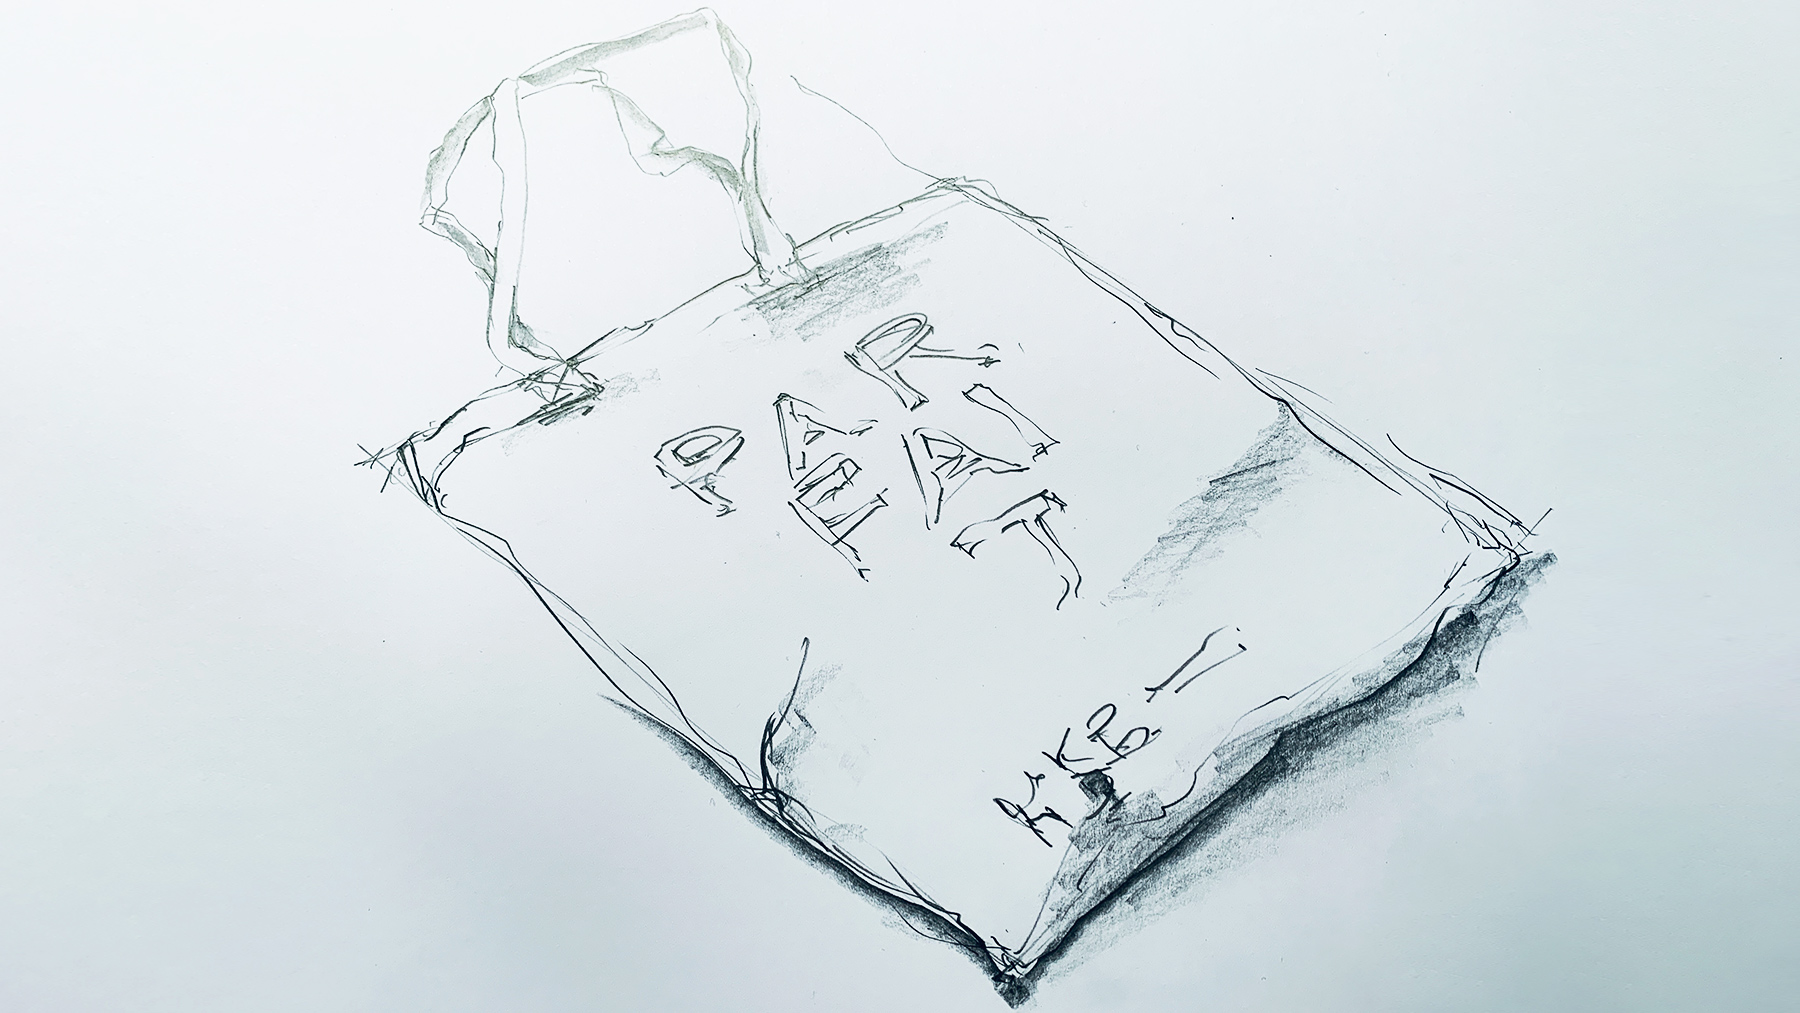
Hello and happy sketching. We are drawing with the fifth rule. This is highlighting the line. As an object, we have here a tote bag and this tote bag is actually a rectangular object. But when we look closer, these edges here are not 90 degrees, but we think they are. Everything is a little bit distorted because of the perspective and we want to observe this here. So when we have this piece of paper here, this has a right angle here, so 90 degrees. But you can see this edge is not 90 degrees. This is a little bit less than 90 degrees. This one as well. No, this is almost 90 degrees and the other one here is something less than 90 degrees. This means that when we observe the form we have to deal with the direction. We do this with our helping tool of a dial. We start every line at an edge and we tell to ourselves the direction. So this direction goes to 10:00 or almost 10:30. And here similar thing. This line here goes to 01:00 or 01:00, 20 minutes here almost 10:00, no, a little bit more than 10:00. And the other edge starts here and goes to 01:00 and 20 minutes, something like this. It is always useful to look very closely at the details as well because they are important. They are going to build the overall impression.
So we have a bulky main part of the tote here, but we have some really fine and thin stuff here. We have wrinkles here, we have a little bit of darkness here and we have typography here. But again here those lines, they are not even they are a little bit formed in a line. And this is what we want to look at first before we want to sketch such a tote back. It’s always nice to draw with a real object. But I have it here so that you can observe what I’m doing here. I start with the edge and I go with the direction. So it goes in this direction, 01:00 and 20 minutes, something like this. I can measure the line length if I want and I can put it here. Then I have the other direction.
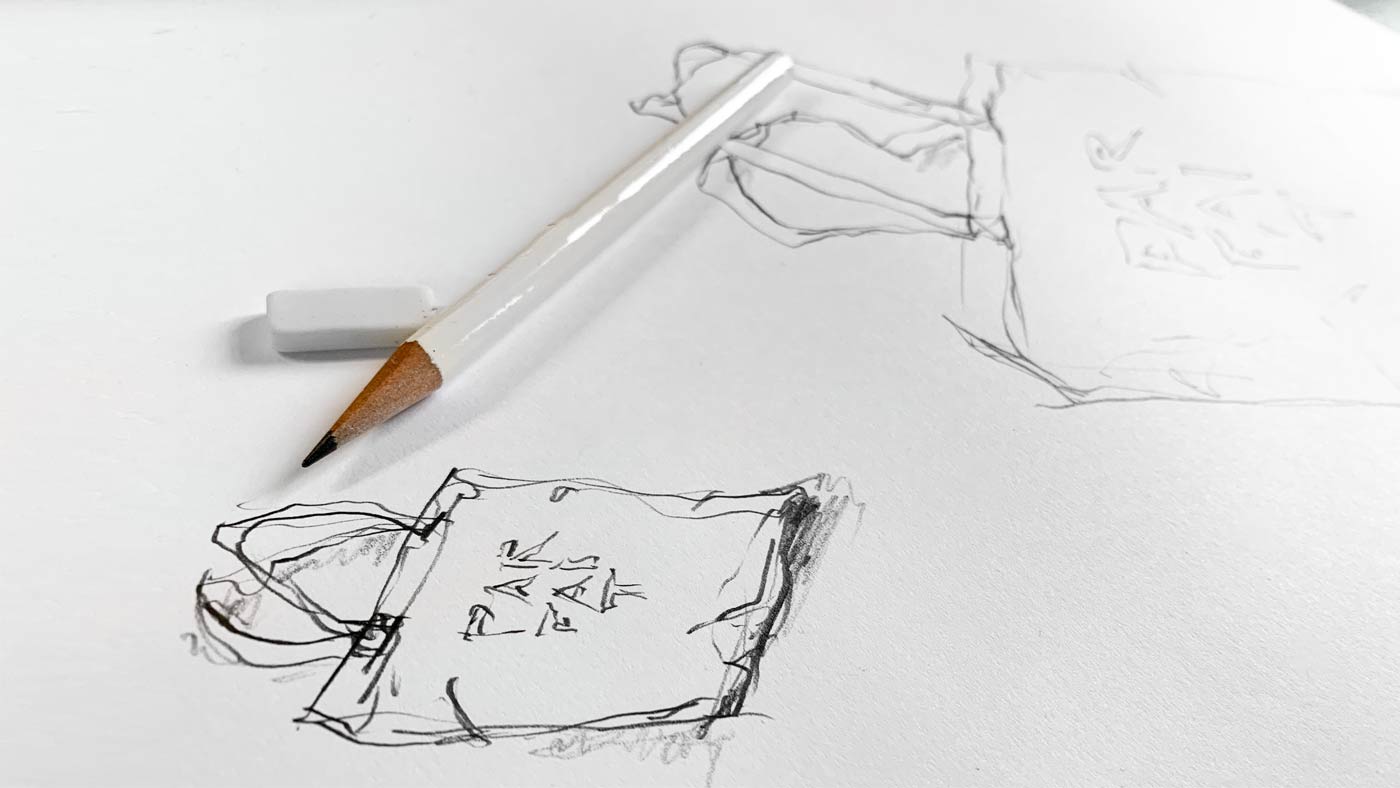
This is something like 10:00 in this direction. I’m going to measure this length because actually, I think in real life this length and I put it here so you can see it better. This length is in real life the same size as this length here. But you can see the other length is a little bit longer. So I put it here and I need a little bit just the direction and then a little bit more. So this is the length here. This was the other length here. And so it goes here. Okay. So I draw very thin the first lines so that I have the overall perspective of the object.
Then I’m going to the details. I start with the details. So here is where those handles are fixed. We have another line here from doing here and here it’s soft and so on and so forth. Then I have the handles here. They go up, turn right, and they overlap here. And they are going here. They turn around here, and they turn around here. And again here it comes back here. They start again from here, go around here. I do all the details as much as I can, but I do not follow all like a slave, but so that I can have a nice drawing here, where the things are overlapping, I just do the overlapping very precise so that everybody can understand which line goes beneath or over the other lines. And then when I have the overall form, I’m going to sketch the lines and highlight the lines. So remember, we work with many lines here at the edges. We can even overdraw the lines over length them a little bit. We have a little bit of darkness here. Maybe you can lay down your pencil to make a little bit of darkness here. So the shade and then the shadow on the table, the background, something like this here. And then I draw the typography just a little bit, just a little bit. Just a little bit. And something like this.
Okay? And here is another form here I have some lines that go to the line. And everywhere where the form turns, I highlight the line. Here I have an overlapping. So I do it more precisely here. Again, there is a cross. And here is a little bit of dog because of the sewing. And here as well, something like this. And then the direction of type goes like this. And it’s not even so this is a happy problem because drawing evenly is not so easy.
I can overdraw actually those things. So I make them a little bit smaller. Then I put the R here. I work with several lines and then I highlight the lines a little bit. Then the F. Oh, this is too close. And this is very long for an F here. An a again. And everything is a little bit shaky here because it’s on a woven textile. Okay. And I work with this, like this. Okay. And yeah, maybe I can give a few shades in here in the object where we have wrinkles, or even here, or even a little bit of shadow that is under the object so that we can see this. If we have two big holes where there is no line at all or no shadow at all, our eyes will be trapped. That’s why it’s always good to put a little bit there and a little bit there of darkness.
And yeah, this is it.
Try the same … and happy sketching!


ASSIGNMENT | Draw your tote to practice highlighting and obersvation
To upload, use the buttons further down.
Free trial
Try one lesson and decide if you want to do the whole course. Click for the free trial ...

Certificate
If you want to achieve a certificate that proves your sketching skills, get all your information here ...